Learning to Carve in a Nutshell
As Paul indicated in About Us, he fell in love with stone carving after viewing a particularly beautiful piece in the 1980’s. Since that time, he has immersed himself in Inuit carving and Arctic travel to learn all he could about carving, the carvers, their culture, and the places they live. He has used that experience and his 30 years of university teaching to create two types of educational programs for those who want to learn to carve or those who simply want more information for their club or social group.
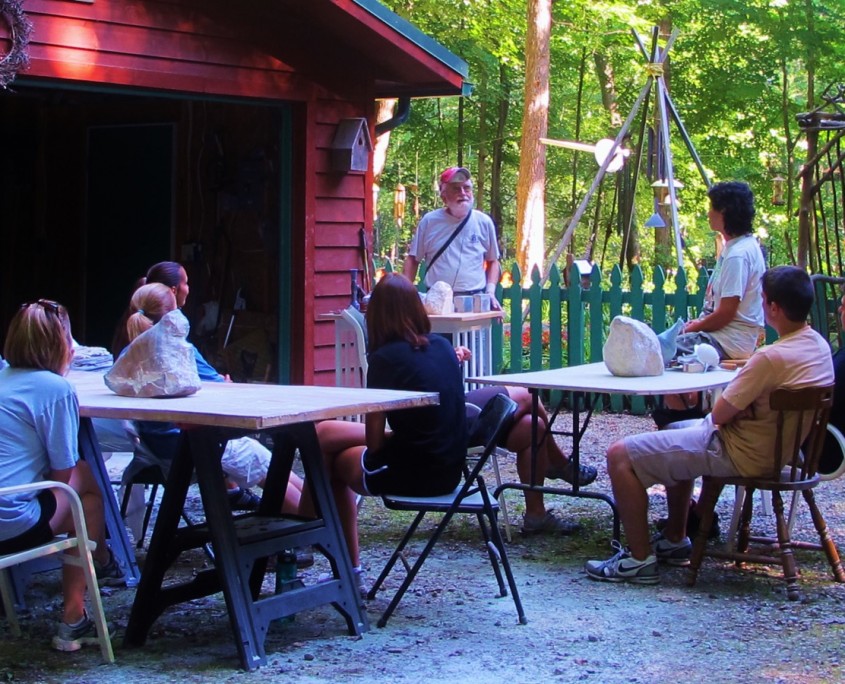
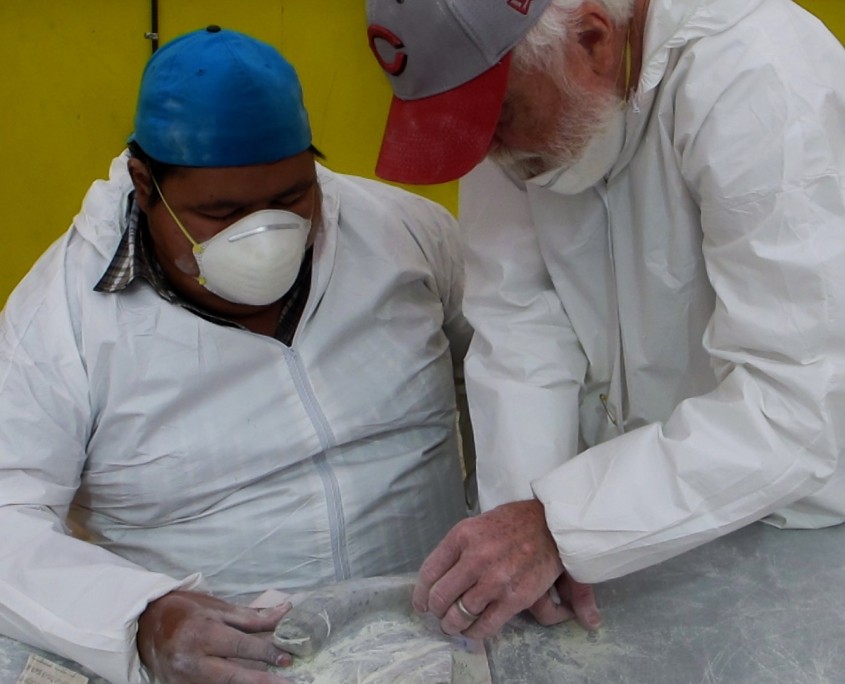
- Hands-on stone carving workshops for individuals or groups
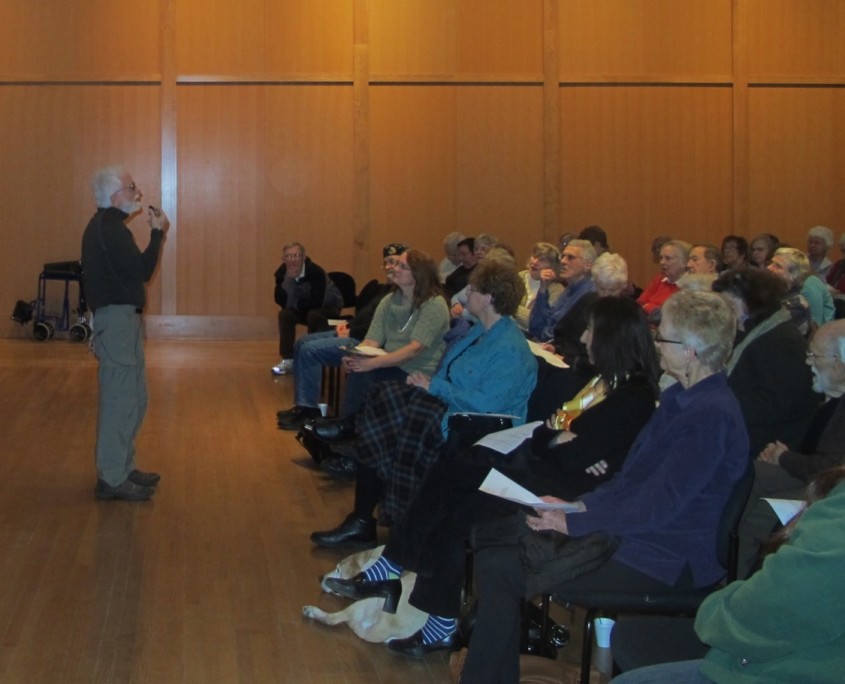
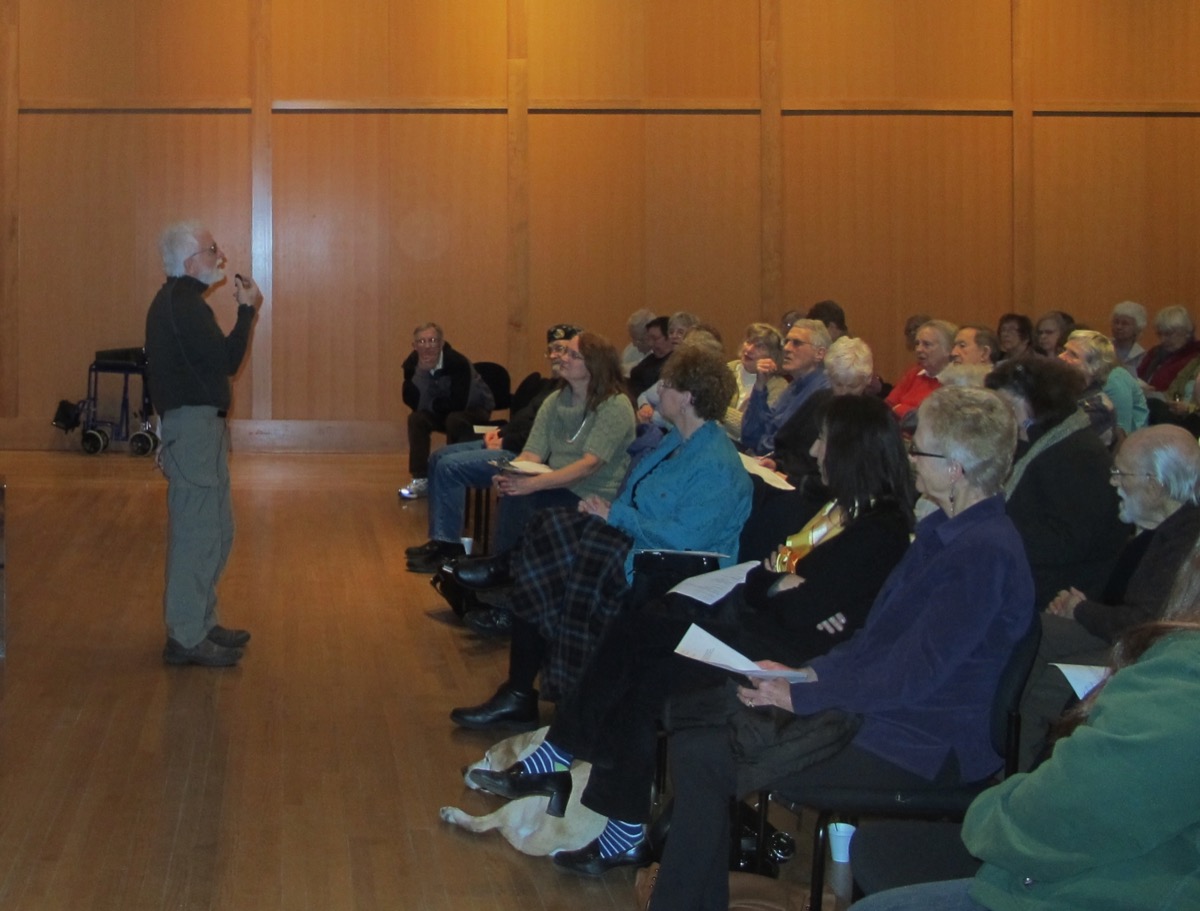
- Lecture presentations to groups or conferences
His workshop participants have included Canadian First Nation people, blindness professionals, university graduate students, and adults and children with visual impairments. His favorite workshops were those held at the Art Education Camp for Students with Visual Impairments, an annual weeklong Art Summer Camp he directed in Michigan for some 15 years.
Inuit style stone carving is a special art form, because of the stone’s inherent beauty. Even if made by a beginner, a highly polished completed piece generally amazes all who see it. Once a carver learns to add form, stone carvings are the most impressive of all art works!
Unfortunately, stone carving is not a mainstream art form. It is rarely taught to public school students or adult art students studying at art centers. Working with stone simply creates far too much dust to be allowed inside most building, let alone an art center in the vicinity of other art classes. It is certainly not acceptable to have a dust coating over wet oil paintings, ceramic glazes, and the like. Consequently, few people are ever exposed to carving lessons or know anything about how carving is done and far fewer actually carve. However, its relative rarity does not necessarily mean that it is more difficult to learn than other kinds of art. For this reason, Paul would like to help everyone who has an interest to learn enough about carving to make an informed choice about pursuing the skill further. As such, the following paragraphs contain a brief summary of the process.
The Steps in the Carving Process
Step 1: Identify and Use Common Carving Tools
Saws
Crosscut and hacksaws are used to make cuts to remove large squarish pieces of stone, such as between a bear’s legs. Saws only cut on the away stroke, so push hard, pull back without pressure.


Hammer and Chisel
The chisel is hammered towards a saw cut to chip away large pieces of stone.

Rasp
Rasp, A large Half-round rasp or file with large teeth, is used to round out the sharp edges left by the saw. Rasps only cut on the away stroke, so use pressure forward, pull back with little pressure.

Rifflers
Rifflers are usually curved files used to makes details, such as ears, foreheads, toes, etc. Rifflers also generally cut only on the forward stroke.

Sandpaper
Sandpaper is used to get rid of file marks and then to polish stone, starting with 60 grit, then 120, and 220 to get rid of file marks and then, 400, 600, and 800 grit to polish. Often the sandpaper is used wet during polishing. Also, sandpaper cuts on forward and backward strokes, so apply pressure away and back.

Step 2: Identify and Select a Carving Stone
Beginning carvers are generally given their first stone by an instructor. However, if you are actually choosing, select a soft soapstone, such as Brazilian soapstone and choose a shape that is similar to what you want to make, that is, select a stone that already looks a bit like your final figure, a bear, bird, etc.
Step 3: Clean Rough Stones
Stones that come from dealers usually contain much powdery or unusable stone. This must be removed with a saw or rasp before you can tell the actual shape of the stone, so only start carving after thorough removal.

Step 4: Cut Out a Basic Form from a Cleaned Stone
After the stone is cleaned, scratch or draw the shape of your figure on the side of the stone. Use the saw to cut away everything outside the lines you have drawn. If a bear, you will cut out the area between the legs, the neck, and perhaps the rear. You may need to chisel the stone away between the legs.

Step 5: Shape the Cut out from Step 4 into the Desired Figure
Since the cut out form is now square due to the saw cuts, it must be rounded off, so use rifflers to do this.

Step 6: Finish the Surface of the Shaped Stone
Use 60 through 800 grit sandpaper to smooth and polish your figure.

Selecting a Workshop
Individual Carving Lessons
Individual instruction is offered through the class entitled, An Introduction to Stone Carving with Hand Tools, It is taught on a one to one or one to two teacher/student basis at Paul’s studio in Michigan. Each student will use hand tools to complete a simple soapstone piece during a two-day, 14-hour session. All tools, stone, and other carving materials will be furnished. At the completion of the class, students will,
- Identify common carving tools
- Identify and select a carving stone
- Clean rough stones
- Cut out a basic form from a cleaned stone
- Shape the cut out form into the desired figure
- Finish the surface of the shaped stone, and complete a piece
In addition, students will learn the major stone carving resources available on the www. Those who must travel will be assisted with finding accommodations. Students who have completed this course can repeat this individualized class, receiving more and more complex instruction as they progress. As with the introductory class, tools will be furnished, but the student will purchase additional carving stone as needed. Please contact us at info@arcticstonecarving.com or 269-743-9299 to ask questions and to schedule dates and times for workshops.